Tuesday, November 27, 2018

Factory and out building

I'm continuing to work through the HO-scale buildings I picked up at the model railway swap meet.


This is (I think) a colliery and possibly in N-scale (doors are small for HO but it is hard to tell). It came as part of a job lot so cost about $2. It is missing a couple of pieces (smoke stack and part of roof).


I popped the buildings off the base and then set to painting them using the usual dry brush, wash and seal approach,


I fixed a missing part with a bit of plastic card that looks like corrugated metal and am reasonably happy. It will be a useful out building.


The main building got the same treatment. I still have not sourced a smoke stack (I will look for some one-inch pipe at the DIY store). I might also cover it with plastic card. It could also be a winery.


Some of the details came up very nicely once I applied from paint. Shame it was so poorly treated by a past owner.


Up next: More buildings and some 54mm AWI highlanders.

Saturday, November 24, 2018

54mm British Highlanders

No gaming for me this week due to some dental woes. This did, however give me enough time to finish of a long-delayed second unit of 54mm British Highlanders for Tricorne.


These are from All The King's Men (sadly out of business) and they sat half painted because of the level of detail required. I learned a bit from the first unit I did and I stopped trying to add a third colour to the argyle socks (doesn't show up anyhow). Happy the bagpipes turned out okay--don't think I have ever painted bagpipes before.


I'm happy with the results and happy they are done. I see I am also short a couple of units of British Guards from the original orbat. I think I have some extra Prussians that could be converted with paint But first I have two units of French cavalry to finish up and the rest of the buildings from the model railway swap meet. Maybe the guards will be a holiday project.

Wednesday, November 21, 2018

Painted 15mm WW2 vehicles add to for-sale page

I've added four new lots of painted 15mm WW2 vehicles to the for-sale page


There are units of Tiger 1s, StUGs, and hanomags.


Deals are dirt cheap--less than the bar model in most cases

Tuesday, November 20, 2018

54mm AWI French Marines

I am almost finished the orbat for the French expansion to Tricorne. Today, I have two units of French marines. These are 54mm figures from HaT (originally SYW Prussians).


Apologies for the white washing out like it did--there is more depth and nuance to the figure in person. Overall, a good enough paint-job conversion.


I was looking at the expansion box with Bruce and I see the flip side of the French victory country is a Hapsburg symbol so that suggests a SYW expansion is in the works. (Edit: Apparently this is supposed to be a Prussian Eagle--just used the wrong art.) So I will spend some time knocking out some proper Prussians to replace the stand-ins I currently have. But first I need to paint some French cavalry. And I need more guns.

Saturday, November 17, 2018

Target for Tonight

Bruce put on a game of Target for Tonight this week. The rules simulate the British bombing campaign against Germany.


You each get a plane (although it would be possible to run multiple planes or even a squadron if you were keen). The crew have abilities that improve over time (if they survive).


The game has area movement and would fit on a coffee table. Below you can see the entire set up. You start on an airbase (bottom right tile). You then move (clockwise) to the coast, across the sea make landfall, fly through a flak belt, hit your target and egress. The number and type of tiles depends on mission you roll.


As you move from tile to tile, you roll for random events and the game could easily be played solo. The main weakness of the game is that there are almost no decisions for players to make--just lots of dice rolls.


When you reach your target you use a card deck to navigate across the city towards a target square (not shown in this photo). Cards affect your movement, simulating winds navigation, and other challenges. There is some decision making here, but mostly the moves are obvious.


If you get jumped by a night fighter, you flip the bombing board over and you have a brief dogfight. Again, movement is drive by a card draw with most moves being obvious.


The rules are pretty slick once you get the hang of it. Bruce put all of the tables on a two-sided QRS. The layout of the rule book itself is appalling, with historical material interspersed with the rules. A QRS is a must to avoid endless flipping. This is really an inexcusable production error.

Overall, a pretty fun game and nice to have a solo option. The level of abstraction is nicely thought out. It avoids the paper-chase of B-17. As time passes, technology changes and each side gets new tricks and counter measures. I'd totally play again.

We played twice with one (of four!) bombers returning and no successful hits. There was literally nothing we could have done to change the outcome (except roll better) which is perhaps the biggest drawback of the game.

Tuesday, November 13, 2018

Pony Wars!

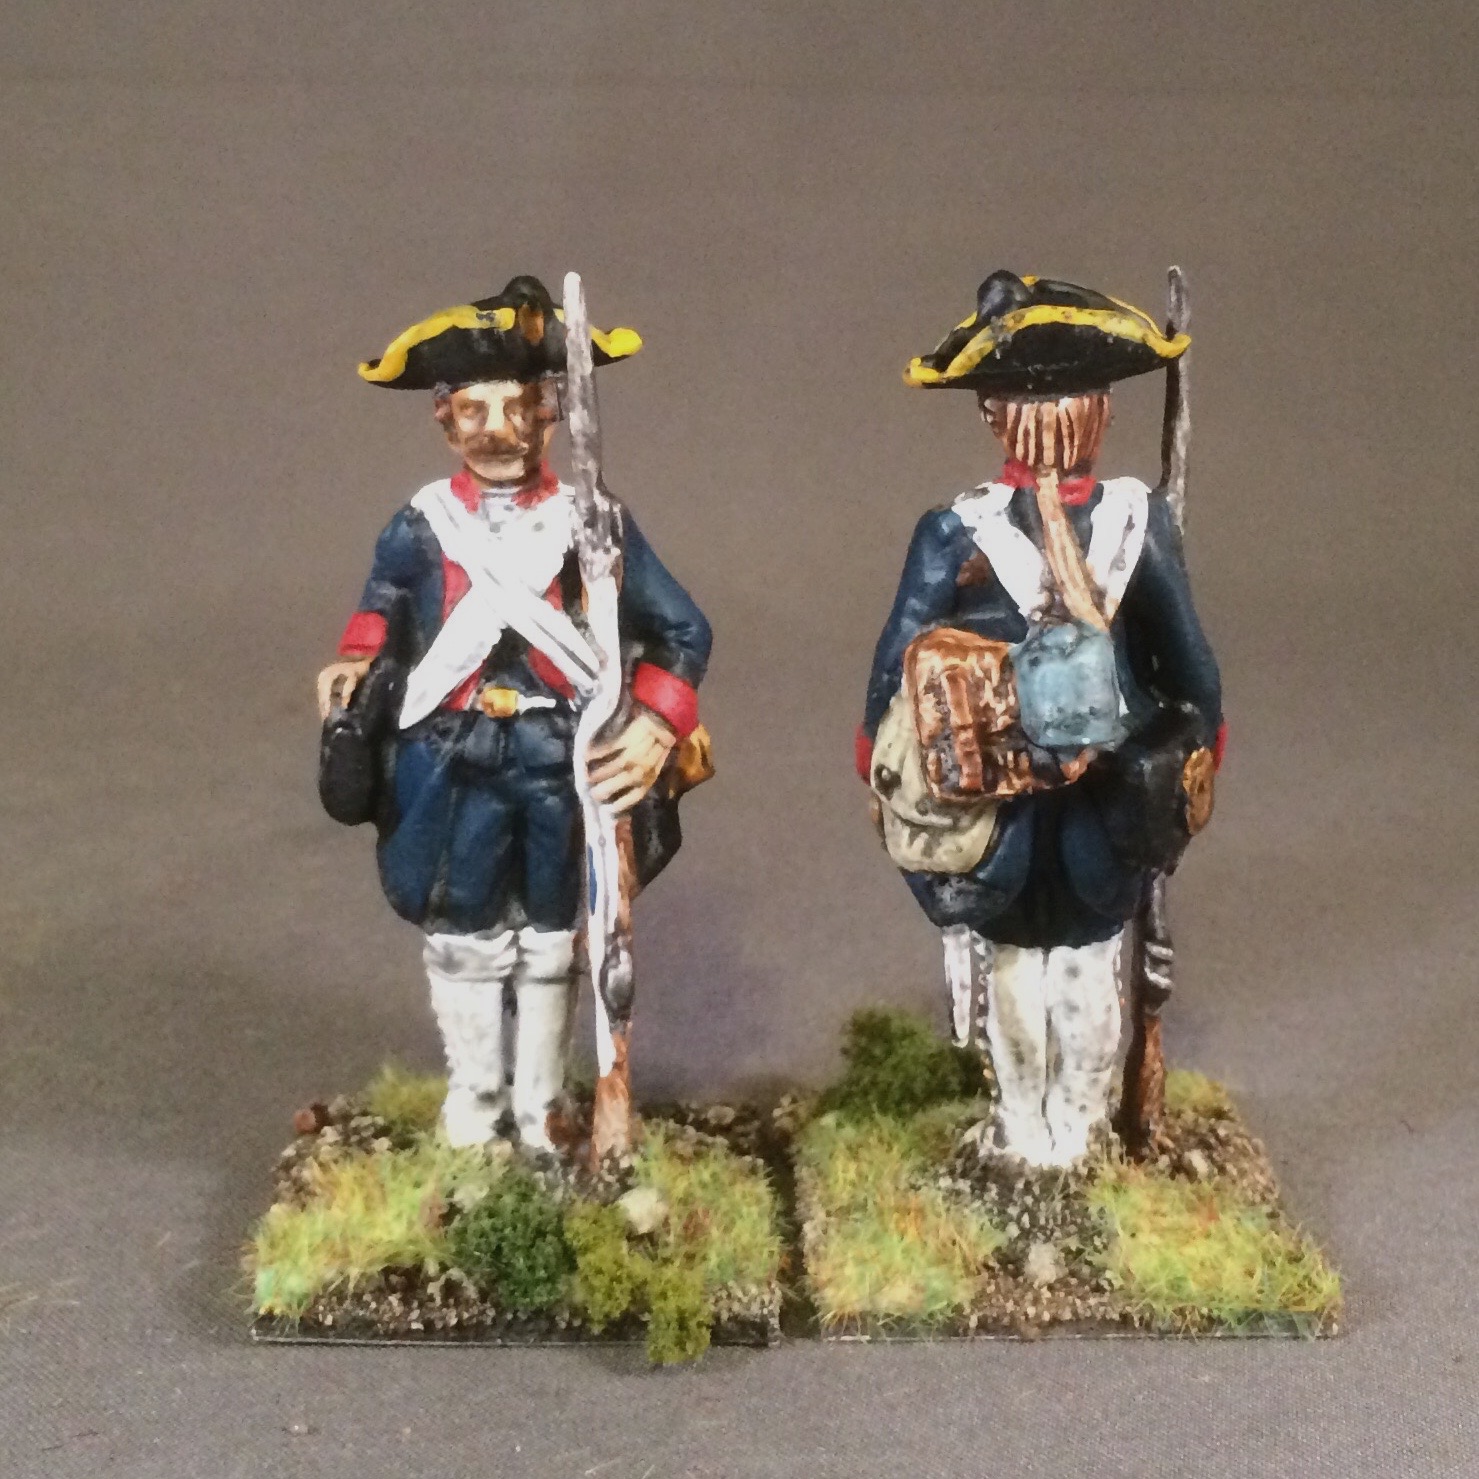
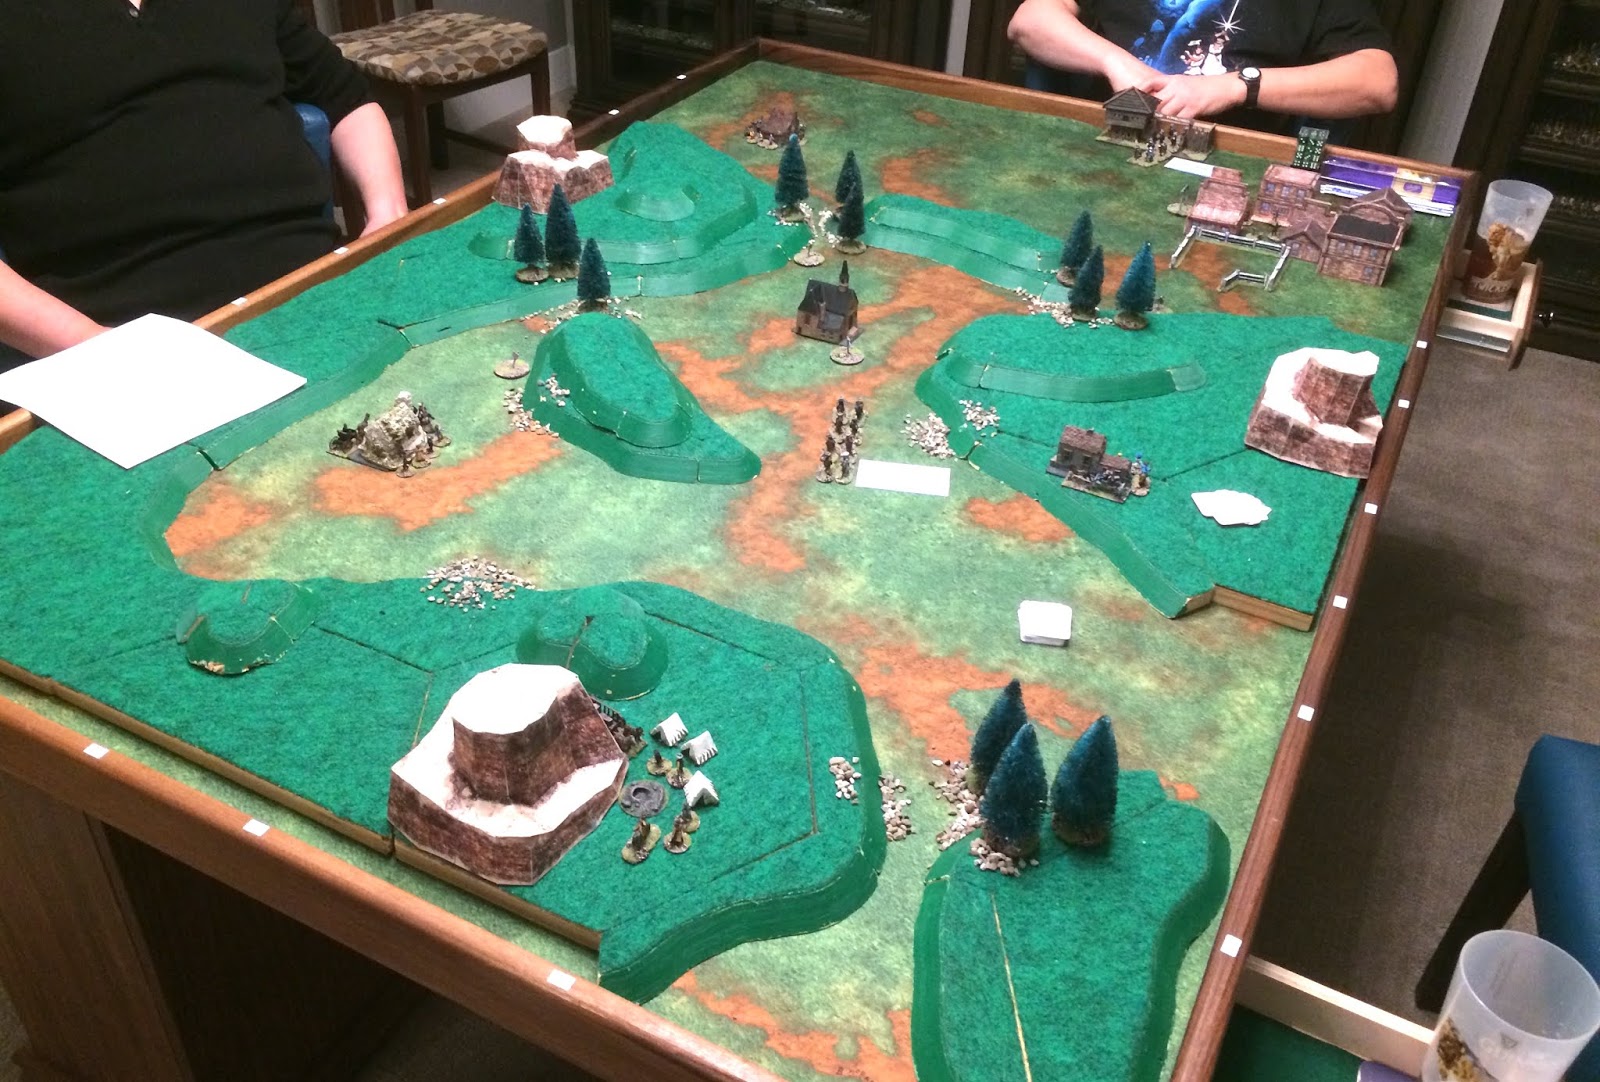
Bruce hosted our annual Remembrance Day game this past weekend, inaugurating his new gaming room and table. To accommodate Andy, me, Chen, Richard, Scott and Terry, Bruce retreaded an old game (Pony Ways), cleaning up the mechanics and using a variant of Lion Rampant for the combat mechanics. 


The setting is the old west, with the players assuming the roll of the US Cavalry trying to keep the settlers safe. Each turn, a card is drawn that triggers a random event (mostly raiding war bands but also stage coaches, wagon trains, cattle drives, banditos, etc) that the players must manage. The game is scored based on points and at the beginning of each turn, the players play the game (e.g. one war bands) before taking their turns. The game ran 30 turns.


Early on, the mining camp as sacked by some locals and the miners forced to flee.


The eventually joined up with Richard's troops which had convinced some settlers to accompany them back to the safety of the fort.


Sergeant Something-or-other arrived but succumbed to bad dice rolls before using his special power to help the players.


Richard's force was harassed by war bands as it moved across the table. Then the railroad arrived (major points of the rail crew survives long enough to get the railway to town).


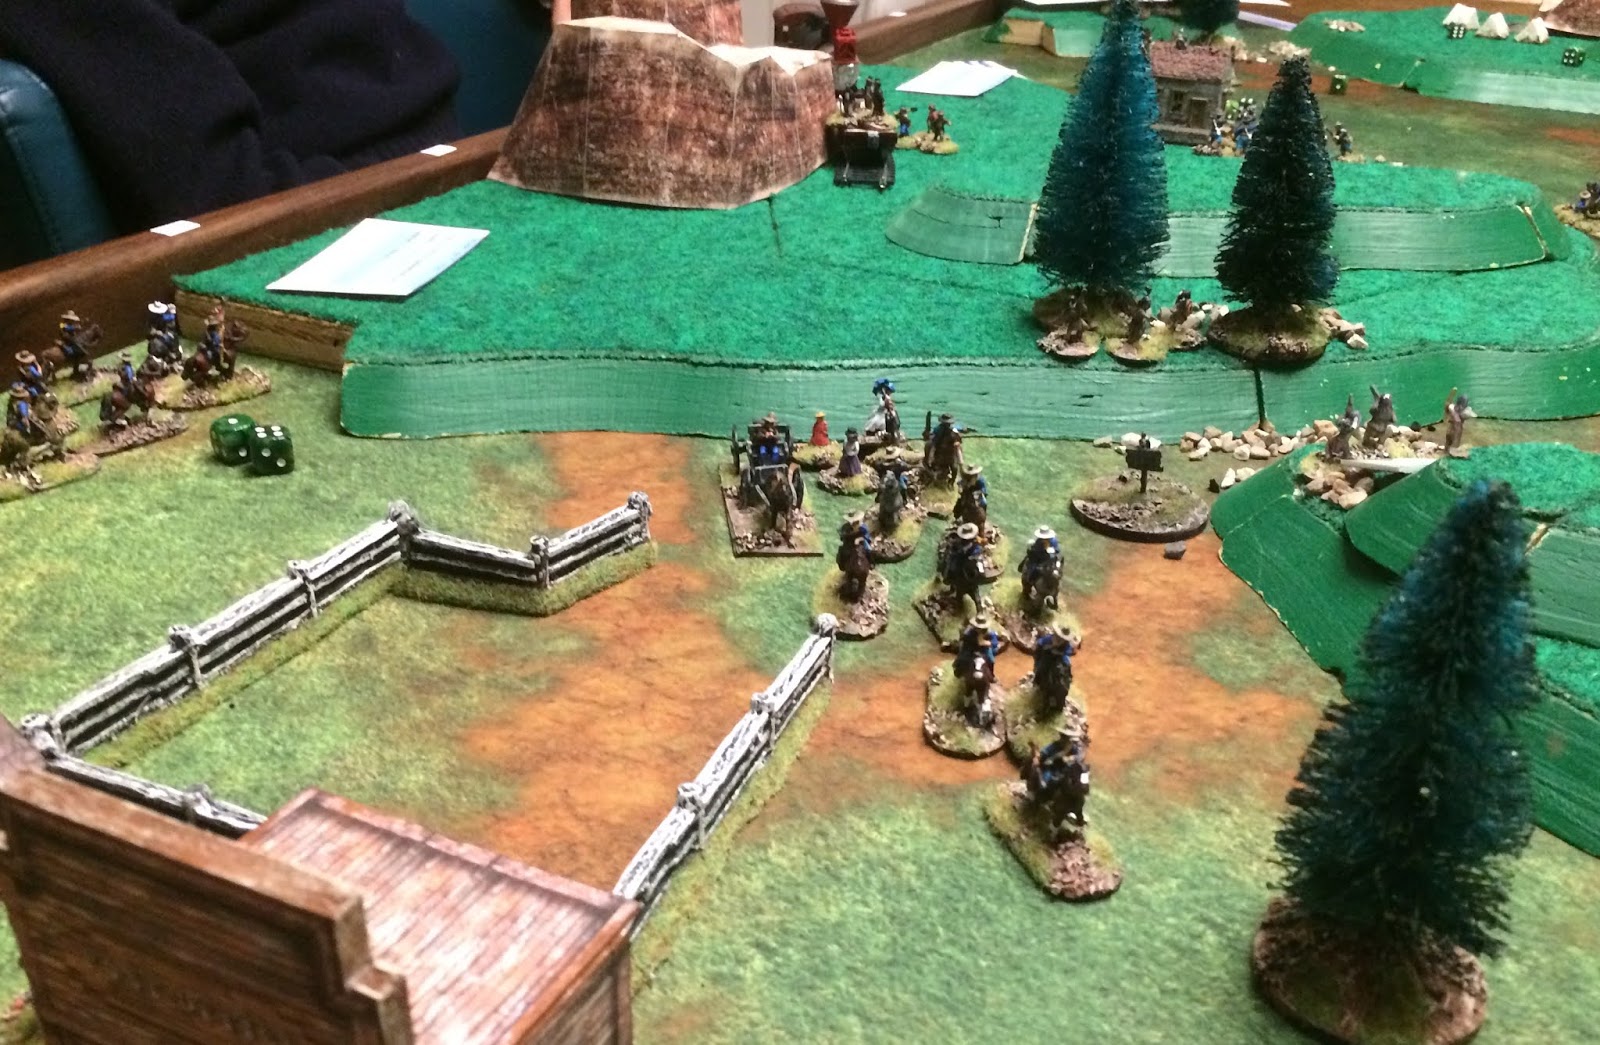
Andy moved his cavalry up to provide a rearguard for Richard's wagon train. This was a short-lived effort to stem the tide of war bands and Andy was left unit-less for awhile thereafter.


The chuckwagon made it town (triggering a gun fight that I wasn't paying attention to) but then it had to ride to the church to figure out its exist point. Of course it was ambushed getting through the pass.


I managed to bring in some more settlers to the fort to up our victory point total. At this point, it felt like we had the game in hand. And then the war drums stopped and there was a huge surge of war bands all entering the table at once.


Must of the rest of the game looked like this as the locals overwhelmed unit after unit, grinding down our overall score.


We spent a lot of time replenishing our troops in the fort and sallying out to try and save what we could.


At one point, the Hole in the Wall game arrived, chased by a posse. They ran through a seemingly endless horde of war bands. Richard was trying desperately to get a cattle drive moving, but faced a slaw of problems, including raids. Terry's troop and my own raiders were over come by Indians while Scott continued an amazing run of luck, losing only one man and shooting us out of trouble repeatedly.


In the end, we scored a -6 result (hard to know what that means--Bruce is still calibrating the game), which looked like a loss. Overall, a fun, co-op game with lots of figures and terrain. I wonder what the effect of moving the fort from the end of the short side of the board to the middle of the long side of the board (on the side) would be?

Monday, November 12, 2018

Painted 15mm WW2 for sale

I have updated my for-sale page to include a bunch of 15mm WW2 German vehicles for sale.


Prices are super cheap!


Pick-up or shipping at cost. More to come as I finish some painting over the winter.

Saturday, November 10, 2018

AK-47 at the club

This week, Bruce hosted a game of AK-47 at the club, which helpfully illustrated how dumb luck can overcome good tactics. The defenders were set up at the midpoint of the table, occupying a town, the ridge and the hills on the right of the photo. The attackers came in on the left.


The game was won on points: kills plus control of three objective markers (the penny on the hill plus pennies in the two forests on the far right).


Both sides had a mix of militia and regular foot, technicals, and tanks. The attackers also had a professional air-mobile unit. The picture below illustrates where most of the action occurred. The attackers occupied the first (and highest value) objective while also assaulting the town. The assault  was dumb, tactically and strategically. But there you go!


The defenders advanced on both flanks but had terrible dice rolls, both on attack and for reinforcements. You can see the religious leader in the back of the pick-up below, right, urging his troops on.


Things were going badly for the attackers here, with the air mobile unit getting beaten pretty badly by the tanks (background of picture) and the main position being slowly enveloped.


Fortunately, aid arrived on the attackers' flank in the form of three tanks. With the clock ticking down (random end point), we decided to rush the tanks at the second of the objectives.


The defenders pushed their tanks in this direction (below) while the attackers used their air-mobile unit to snag the third objective.


A relatively inconsequential shootout between the tanks saw equal casualties while the defenders flanking force failed their third check and routed. Then the clock ran out with (amazingly) the attackers in control of all three objectives.


Gotta feel for the defenders who outplayed the attackers the whole game, only to be defeated by dice rolls! A fun game.

Tuesday, November 6, 2018

HO-scale buildings

I finished off a few more HO-scale buildings I picked up at the model always swap meet. The first was this commercial corner.


I needed some glue on the seams to firm it up. I also removed some window treatments on the inside and blacked out the windows. Then a dry brush, a wash, and a flat seal coat. Then I sanded the roof. I think I paid about $2 for the building so this was a deal!


I also got a $2 water tower. It was painted grey and black so I dry-brushed, washed and sealed. Not a bad LOS obstruction in an industrial yard for $2!


Up next: I have some 54mm AWI French marines drying. I also have more buildings but these will take some additional restoration work.

Saturday, November 3, 2018

Tricorne Brandywine; Washington's Attack

Bruce popped over on Tuesday to tryout my new gaming table in the basement. I now have enough room to comfortably set up a good 54mm AWI game. I selected the first of the Brandywine scenarios from the new Tricorne expansion.


The gist is Washington thinks Howe has split his army and decides to launch an attack across the Brandywine. Surprise: lots of red coats here. The scenario victory is six banners. The Americans get get easy banners by getting units across the river and taking hills. The British can get easy banners by securing fords and bridges.


Game 1 saw the Americans surge across Brandywine Creek in the middle (tactics being dictated by cards).


The rebels had a good bit of luck at first, pushing the Brits back.


The Brits responded by sending in the Highlands to rout some rebel scum!


Eventually, a line command stabilized the British front but both sides had five banners.


The dastardly rebels then charged across on the left of the photo below, capturing a gun and a hill. In this turn, both sides exceeded their victory point totals but the Americans had more banners so it was a 7-6 win for the rebels!


We switched sides and re-set.


This time the rebels started with a flank attack (driven by cards) and rushed across the river, grabbing a crossing, a hill and bagging a cannon for an early three banner lead.


The British reformed and scored a retreat (which triggers the rout mechanics in Tricorne). The Americans could ignore the retreat but probably wanted to avoid other attacks that turn. So, needing one banner (a 1 in 3 chance) on SIX DICE, they took the rout and, of course, failed all six rolls.

>POP< And now it is 1 to 1 again.


The Americans then pushed across in the centre and the British had terrible morale rolls, losing units.


A double push in the centre saw the Americans gain enough Banners for a convincing 6-2 win. I think a win for the Brits would be hard here (which is fine--scenarios don't need to be balanced). The geographic victory points really incentivize the rebels to attack.


I'm keen to try the other three scenarios: flanking march, main assault at Chadd's ford (basically this scenario with the Brits attacking), and Green's covering action to let Washington retreat. I'm also almost done season 2 of Turn which is whetting my appetite for AWI.