Showing posts with label 6mm. Show all posts

Saturday, February 28, 2026

More Battle of Hoth figures

At Christmas, I ran across a discounted copy of the Battle of Hoth and picked it up for the extra figures and so that I could play the giant-sized scenario (that requires two sets). I spent one of the cold snap in January painting these guys up.

Having painted this set once, I was able to knock out a duplicate a lot faster.

To help me keep the sets straight, I went with a plain white base instead of the light blue base I did on the first set.

I found some AT-ST minis that are roughly in scale with the AT-ATs and will paint those up shortly to add a unit type for the Imperials. I am hopeful that the success of this game will mean future release for, say, the Battle of Endor.


 Up next: Probably some 15mm sci-fi terrain.

Saturday, November 15, 2025

The Battle of Hoth

For my birthday, my wife got me the new Battle of Hoth game. This is basically a reskin of Memoir 44 and comes with miniatures.


The bulk of the miniatures are Imperial Snowtroopers, which I promptly painted up.


The snow troopers are okay figures. This was a quick prime, detail and wash. I see the bases may need some more work.


The best part about them is that they more or less match the 25mm West End Games figures I have from the 1980s. The WEG figure is slightly beefier and is on a washer but otherwise, these are a good match. It is wild how long it has taken for a Star Wars game token to match the old WEG figures!


There are also some probe droids that match the WEG ones pretty closely.


There are also a bunch of Rebel Hoth Troopers.


These are pretty nice figures that paint up well.


The rest of the minis have variable scales. The snow speeders are maybe 5-6mm sized.


The AT-ATs are very small (2mm?), the turrets are more like 10mm, and I've no sense of the ion cannon or the shield generators.


Once put on the game board, the effect is awesome and I cannot wait to play a game as well as the two campaigns the box comes with.

Saturday, September 20, 2025

Rommel

Rommel, by Sam Mustafa, is likely the best WW2 game I have ever played. I had a chance to re-acquaint myself with it this summer at Bruce's place and I think we're on deck to play several times over the winter.

Bruce hosted a very messy German counter offensive on the Russian front. There was a huge amount of terrain in the middle of the table, which pushed play to the flanks. Interestingly, both sides made quick thrusts to capture the other's supply base, impeding future momentum.


In the end, it was a bloody Russian win as the Germans ran out of time and tanks.


I've got some 3mm WW2 figures I painted up a few years back and am keen to run a desert game this fall.

I need to spend a bit of time working up some scenic entrenchment markers as well as a tiny bit more terrain.

Saturday, May 29, 2021

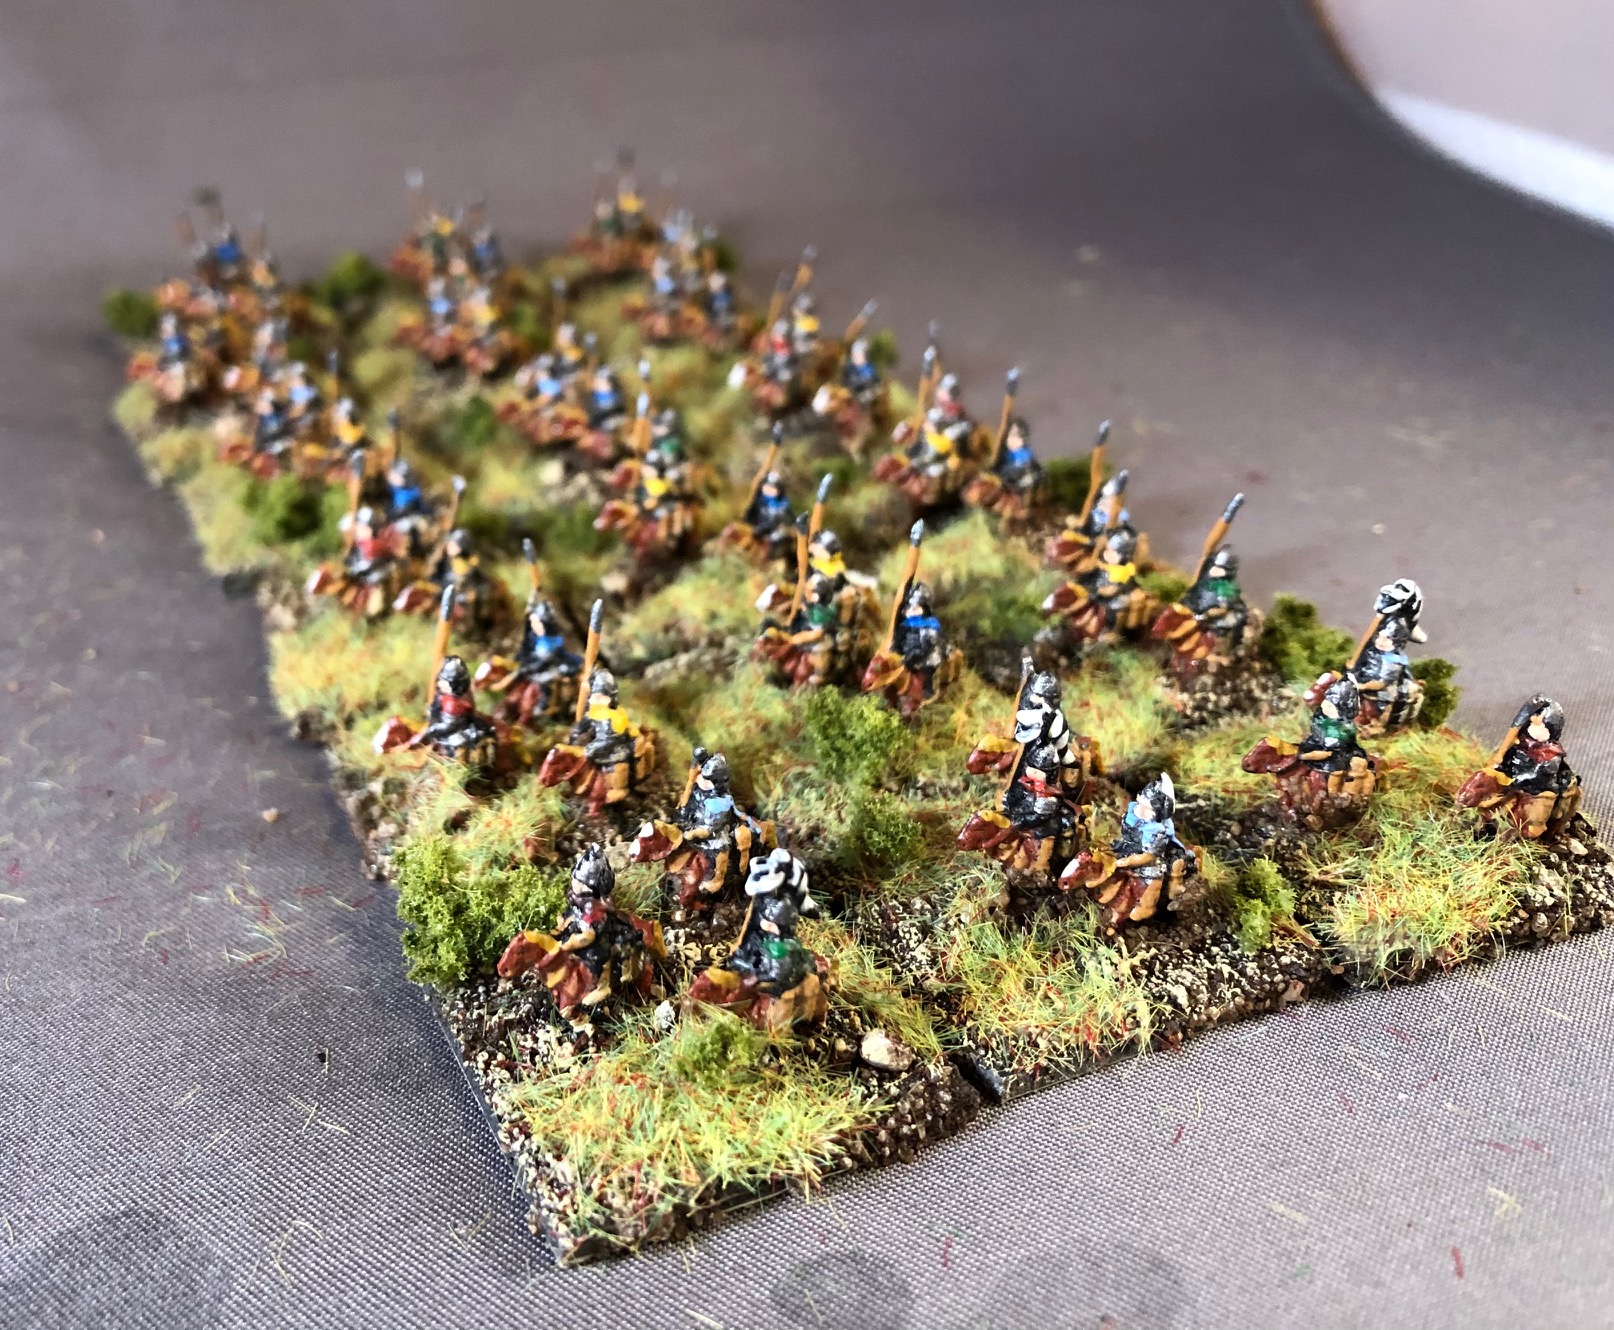
6mm Roman command, cavalry, and lights

Continuing on with this random 6mm painting project, I finished up some more Romans. These have been awaiting basing for quite some time.

There are four command bases. I also painted up 8 bases of light troops. Light troops are always unrewarding to paint and base, but they are just so useful in games!


Finally, I did the Roman cavalry the were in the box. Six bases of three. All are on 1x1-inch bases.

Up next: Probably some pulp 28s.

Saturday, February 13, 2021

6mm Hairies

This week I finished a small group of 6mm Baccus Gallic foot.

I think these guys are actually Dacians but I didn't recognize that until I was well into painting them. ("Why are there no bottoms on these spear shafts...?")


This doesn't look like much but it is 132 figures! So fiddly.

Up next: Cops and Cobra.

Tuesday, February 9, 2021

Bear vs BAOR

A few weeks back, Bruce and I wrapped up a series of modern games where we used Scharnhorst for a map game followed by gaming out the tabletop battle using Rommel (with slight WW3 tweaks). Our final game was a Soviet push (1985ish) through West Germany to run into the British. The crux of the map game was a series of bridge grabs.

Rules-wise, we reverted to the original Scharnhorst recon rules (winner picks a side and loser comes in opposite). We also reverted to a single type of shared victory objective (towns in this case). We fiddled the recon rule such that at the beginning of each day, each players roll 1d6 and adds their Recon Points. The higher roll gets the Recon Bonus, but only for that day. This tones down the effect of winning recon at the start of the game and, I think, provides some tension and balance.

The Soviets (red units) won recon and chose to enter from the top (north). At the end of Day 1, things looks like this.

I think the British (blue units) had initiative on Day 2 and rush up the right flank to grab a three-point city and jam up the Soviets on the river. The British plan was to grab as many cities as possible and the eventual winner was determined based upon cities held plus 1d6 of points for the battle winner.

The British hoped for a fight over on the left flank and maneuvered to deny the Russians an advantageous positioning of the battle map should they get initiative on day 3.


Day 3 dawns with the British having the recce advantage again and selecting the battlefield (green below). There was some last minute maneuvering to get troops on the field or to act as reinforcements.


In the end, the British had the same number of units on the battlefield as the Soviets but the BAOR units were of high quality. The Russians had reinforcements that appeared a die roll. The set up and the battle plans are below--the battle self itself was a bit of mess, with troops arriving intermixed.


Bruce gamed this one out and sent me this AAR. The Soviet mounted infantry in sector 2 had intended to rush to the bridge and catch the British in a pincers action. Unfortunately, the British got first turn and the Chieftains used a Double Tactical move to catch the leading Soviet APCs even before they could move. The thin armour of the Soviet BTRs were no match for the British front line tanks. With the help a timely A10 Warthog strike the three companies of Russian infantry were ground down to a single strength-step each. 

The same fate awaited the second detachment of Soviet mounted infantry.


In the center (Section 5) the British infantry moved forward fast, crossed the bridge and occupied the Victory Point town. 


Repeated Soviet assaults wore the defenders down but NATO defensive tactical moves caused more losses on the Russian side of the ledger.


To the north (above) two attachments of Chieftain tanks, crossed the stream and “got stuck into” the Soviet T-80s. Again, the combination of British Armour and NATO airstrikes, did in the Russian armour. By turn four, the British had achieved a breakthrough and occupied the Soviet supply base


By the end of turn five the Soviet general was ready to concede. His western flank had eveperated, his assault force was worn to exhaustion and his Supply base was occupied. He decided to see if the reinforcements would arrive (a 1-in-6 chance) – and if not, he would concede. As luck would have it, they did arrive.

In fact the new Soviet troops got off to a roaring start. They over-ran the Russian Supply base and advanced to the bridge without much bother. 


However, the British player had used to the lull to remove his worn infantry and replace it with fresh troops, re-organized his armour on either side of the town, whipped his tactical chart clean and entrenched his infantry in several locations. 


The Soviets tried to assault the town and use armour to pry open the eastern flank, but the fresh British troops and entrenchments were too much. After two such assaults, some damage had been done to the town’s entrenchments, but the Tommy infantry was hardly scratched. The Soviets had no strength left , so with the British armour and Attack Helicopter devouring his right flank, the Russian general called it a day. 

We didn't roll victory points for the British win because the Brits were already way ahead in town points. Some fortunate map play by the British really put the Soviets in a difficult tabletop position.

A very interesting (if unbalanced) game. Rommel really captures operational armour combat and the OPs Sheet choices really give the feel of the rolling Soviet jugernaught verses NATO flexibility and tactical advantages.

Saturday, January 30, 2021

6mm Roman archers

A few more 6mm figures rolled off the painting table.  


These are 80-some Baccus 6mm Roman archers. A nice, easy sculpt to paint.


Up next: I'm not sure--we'll see what is left as I unearth the top of the painting desk.

Saturday, January 16, 2021

6mm Sarmatian cavalry

I'm working my way through the box of 6mm Baccus ancients I bought before Xmas. Today I finished out what I think are 54 Sarmatian unarmored cavalry.


These had been glued to paint sticks and the horse flesh was blocked in. There was some damage to the lances from being banged about over the years and I straightened what I could.


Overall, they turned out nice enough on one-inch bases. They'll do as either heavy cavalry for the hairy or as local cavalry allied with the Romans.


Up next: Very hard to say. Maybe more 6mm?

Saturday, January 2, 2021

6mm Roman auxilliaries

Back before Xmas, I picked up a bunch of Baccus 6mm figures that a local guy was looking to get rid of. As these things often go, turns out he's a friend of an old acquaintance in BC and bought them from another acquaintance in NF.

I mostly bought these on a lark because I was running low on stuff to paint and hadn't done any 6mm painting in close to 10 years (and I thought another lockdown was looming). Turns out, my eyes are way crappier than they were back in the day! The result, though is good enough for me.

I based these on one-inch squares. Most rule sets can be played in base-widths these days. And, looking at Bruce's recents efforts, two small bases means you can represent (left to right below), line, column or square/entrenched.


I'd forgotten how fast 6mm can go. There are 192 figures in these 16 bases and they only took a few hours to paint. I have a fair number of Romans and then some hairys to get to over the next few months.

Tuesday, December 22, 2020

Rommel WW3: West Germany v Czech SSR

Bruce and I finished off another modern map plus table top battle this weekend. The map game is adapted from Scharnhorst while the table top game is adapted from Rommel. This scenario was a West German rapid reaction force (helo troops mostly, blue units) taking on a Czech second line uni (red).


The Czechs won initiative and decided to move on from the south. The goal was the population centres. The map above is the first moves of the second day.


Two potential battles developed (west and east). The victory points under Red Column 4 made Bruce decide to push here and evade on the west.


In the end, we each had to units in the battle zone and reinforcements ready to come on. At this point, the Czechs are way ahead on map-game points but the West Germans can bag three points plus 1d6 of they win the battle.


We deployed our troops and I gave the Czech orders to Bruce. He then gamed things out. I felt pretty good going in but under-estimated the quality differences between the Germans and the Czechs.


Bruce picks up the narrative here.

As per instructions the Czech tanks made spoiling attacks against the W. German Helicopter Infantry mustering for the battle. The attacks did not go well. The Czechs were repulsed with minimum German losses.

Initial set up

On the western front things went better for the Communists. The W. German Armoured Infantry attempted to assault over the bridge, repeatedly. Each time they were repulsed the T-60s would attack them in the flank while they were still disorganized (Tipped).

Meanwhile the W. German Helicopter troops swung north and west of the city. Using the hills as a staging area they followed launched assaults, after the Armoured Infantry and caused significant damage. The Czech commander tried switching in fresh troops, but after seven Helicopter assaults the city fell.


With the city taken, and the communist strength tapped (all units down to 1 or 2 strength) it was left to the reinforcements to take back the urban hex. On Turn 8 the Reds, in the north west sector arrived. Unfortunately, on Turn 9 the NATO reinforcements arrived on the opposite baseline. 

The Czechs used their wave assaults to close the ground, quickly. They cross the stream and a swirling, furious tank battle ensued. the superior armour of the M-60s and the Cobra Attack Helicopters caused extra Hits and rendered the Czech tanks impotent after a couple of turns.


As the battle of the north wore down the last of the Czech reinforcements arrived on the central-east edge of the battlefield. With time running out, Czech Armoured Infantry attempted an assault over the bridge. The NATO troops had used the time to construct defenses, so although the Czechs caused some damage it was absorbed by the entrenchments.


The infantry withdrew seriously damaged. At the same time, the T-62s had crossed the river and become disorganized. They reorganized, on Turn 17, and launched the final assault, on two flanks. However, the W. Germans had taken the opportunity to clear their OPs file, so they had a full range of tactical options open to them. 

The combination of tanks in cover, entrenchments, offensive shifts down and defensive shifts up were too much for the T-62s. The were solidly defeated and sent packing with a stand lost and the remaining stands down to strengths of "1".


The clear win for the Germans meant they also had the points to win the overall game. All in all a very interesting campaign, which led to a very flowing battle. The Attack Helicopter "Bingo" rules worked really well. Both W. German Attack Helo units were on and off the table several times. They aren't on for long - 3 or 4 attacks but then they return is short order - three or four reinforcement phases, or 1 1/2 to 2 turns.

We're presently playing out a USSR v China game and Bruce has fiddled the Scharnhorst rules a bit to see how they work. There are two main changes we're trying out. First, there are three types of objectives (population centres, infrastructure, and mineral resources). Each side security dices for their type of objective for the game. This add some strategic uncertainty.

Second, the winner of the recon phase gets to choose his entry side first. But the other player can then choose any of the three remaining sides to enter from. This slightly reduces the value of winning the recon phase and also means ones flanks are more vulnerable. I had hoped it might also means a more open and fluid game when adjacent sides were chosen--there could be a rush to bag points away from the main fight. We'll see how that plays out over the weekend.